How to install WPTC on your WordPress site
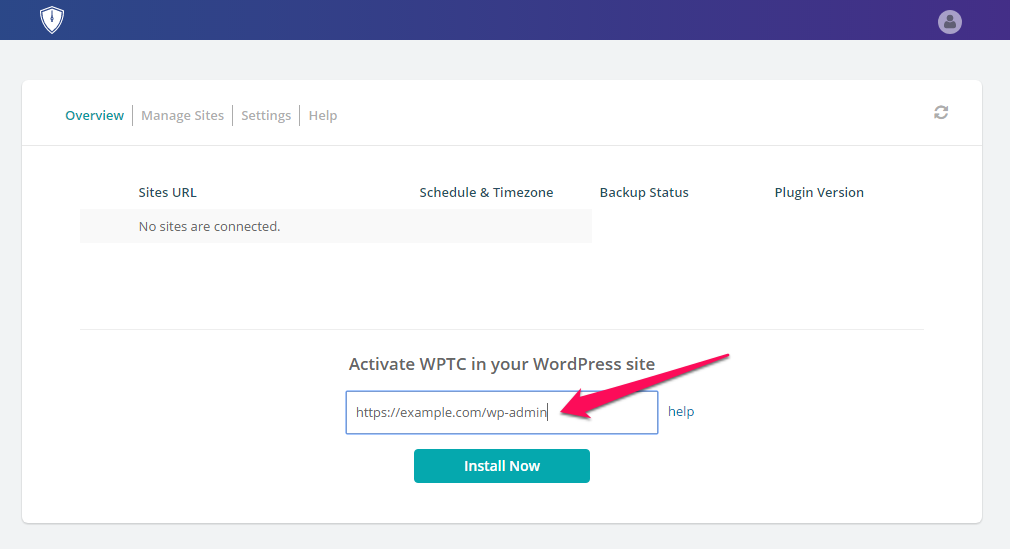
Step 1: Go to http://service.wptimecapsule.com/my-account.php and on the Overview Tab, type in your wp-admin URL and click on Install Now.
![](https://s3.amazonaws.com/helpscout.net/docs/assets/573082cb90336066ec9b7fde/images/58ef78a1dd8c8e5c57315dd3/file-t9cUkFckrf.png)
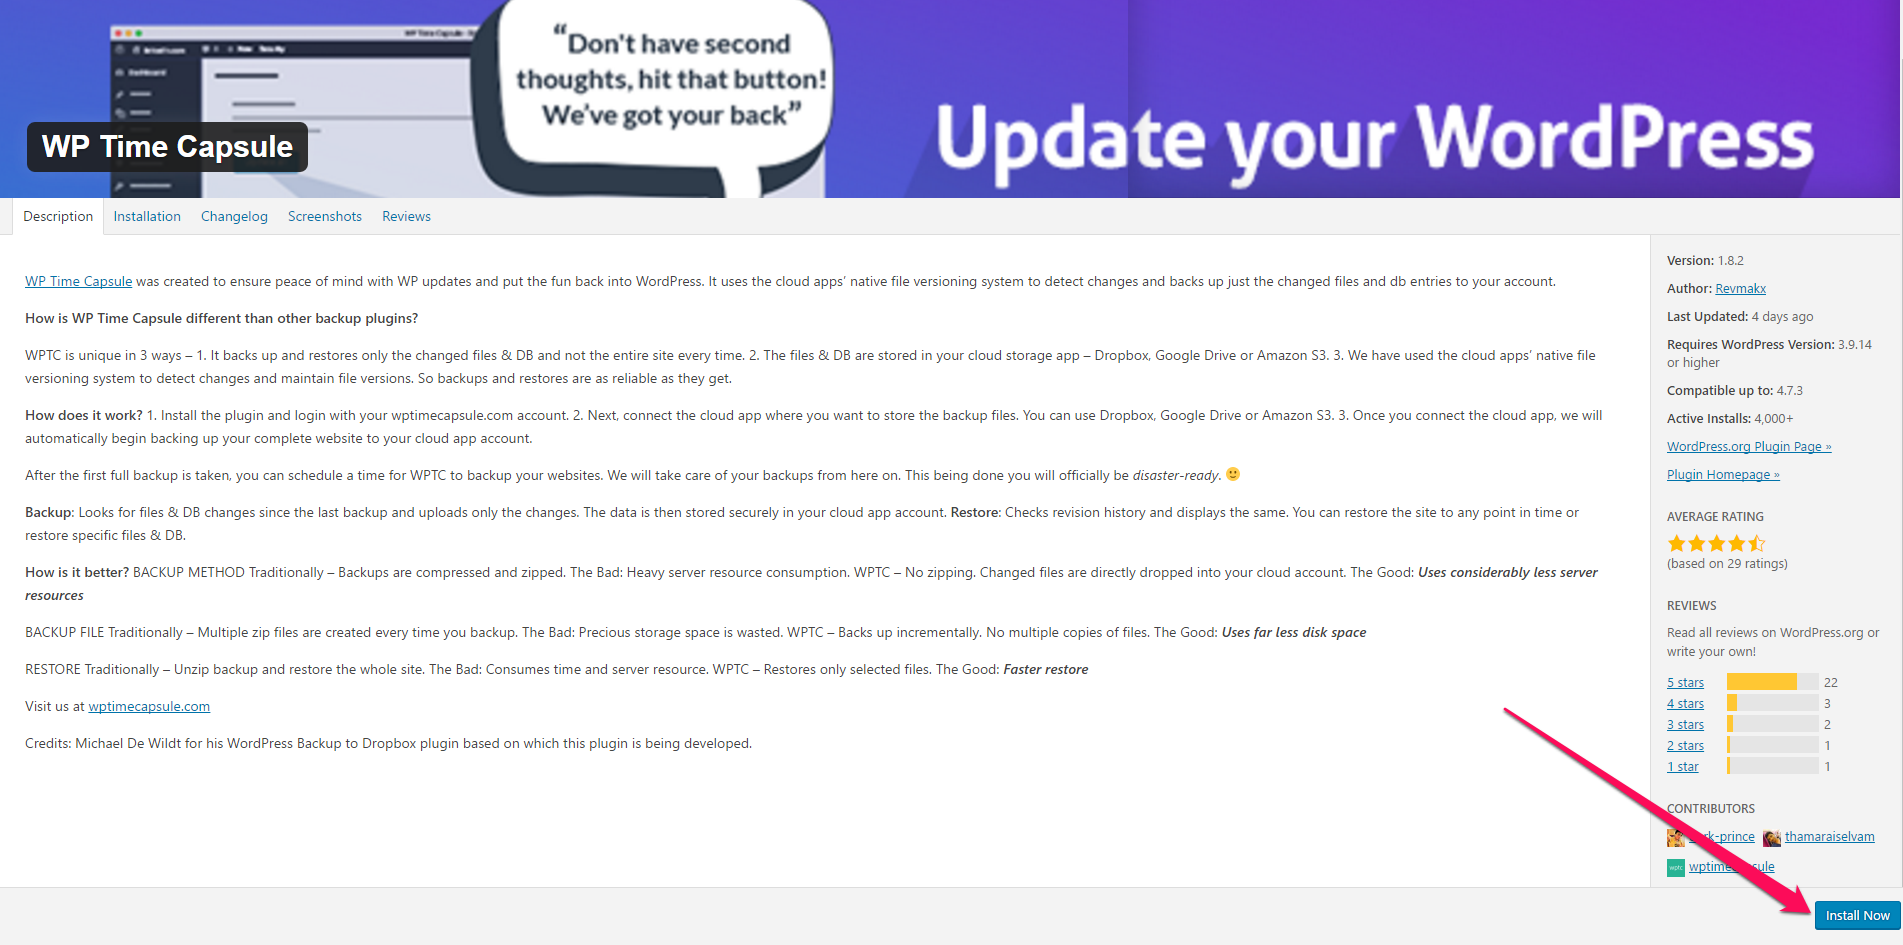
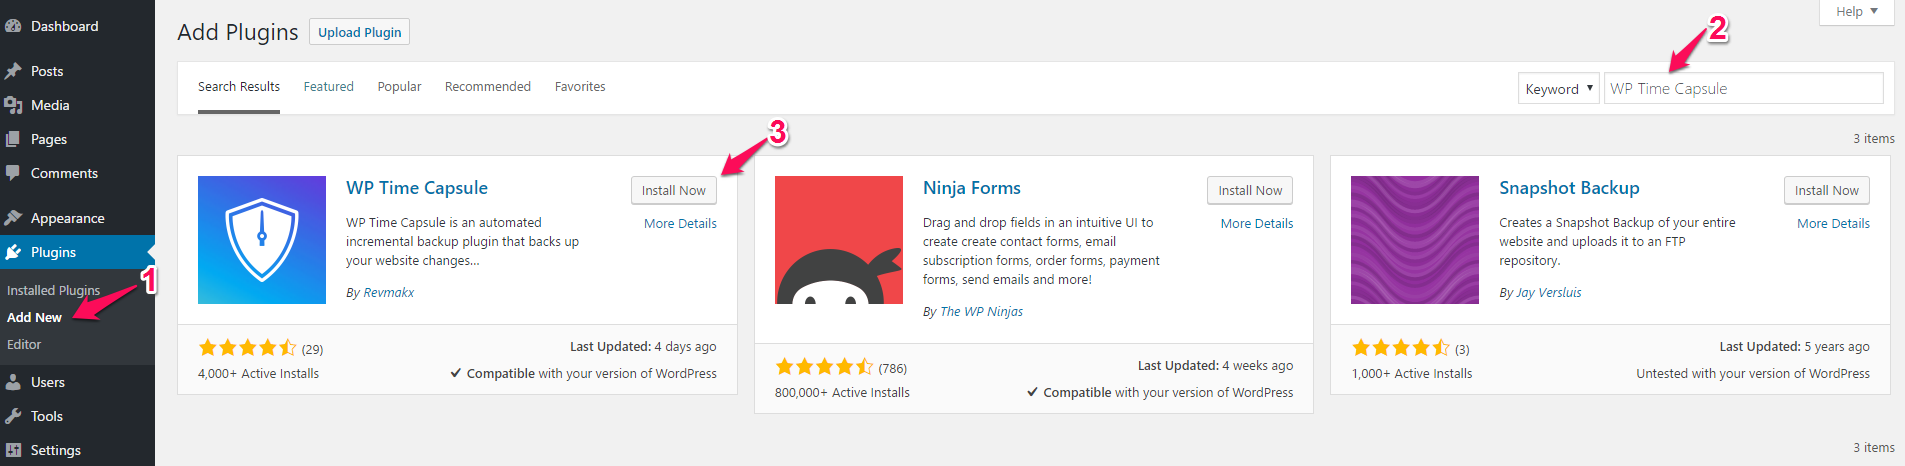
Step 2: You will be redirected to the WPTC plugin page on WordPress. Click on Install Now at the bottom of the screen.
![](https://s3.amazonaws.com/helpscout.net/docs/assets/573082cb90336066ec9b7fde/images/58e242f5dd8c8e5c57310f10/file-TcHB1SSpgU.png)
![](https://s3.amazonaws.com/helpscout.net/docs/assets/573082cb90336066ec9b7fde/images/58e249e32c7d3a52b42f24c6/file-AyKlKtwYJL.png)
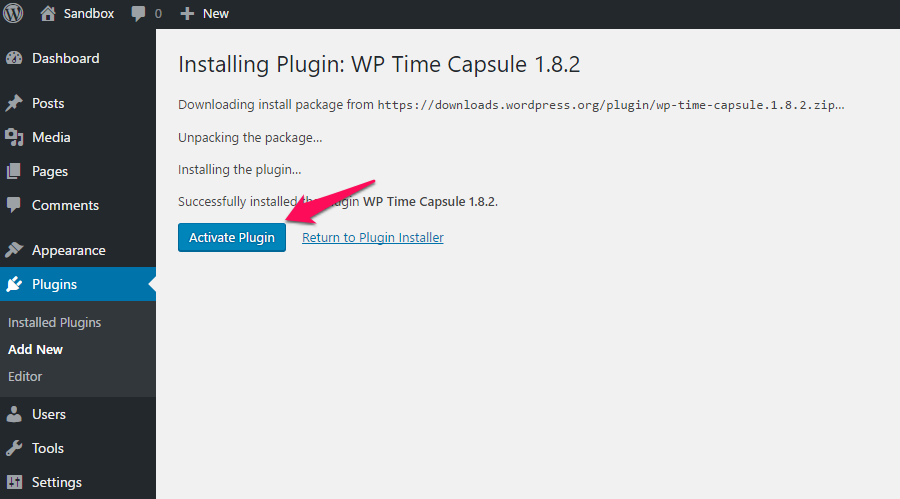
Step 3: This will install the plugin on your WordPress site. Click on Activate Plugin on the next screen.
![](https://s3.amazonaws.com/helpscout.net/docs/assets/573082cb90336066ec9b7fde/images/58e243b0dd8c8e5c57310f14/file-GZ4OvmdcIm.png)
![](https://s3.amazonaws.com/helpscout.net/docs/assets/573082cb90336066ec9b7fde/images/58e244182c7d3a52b42f247e/file-RvEAMLzunm.png)
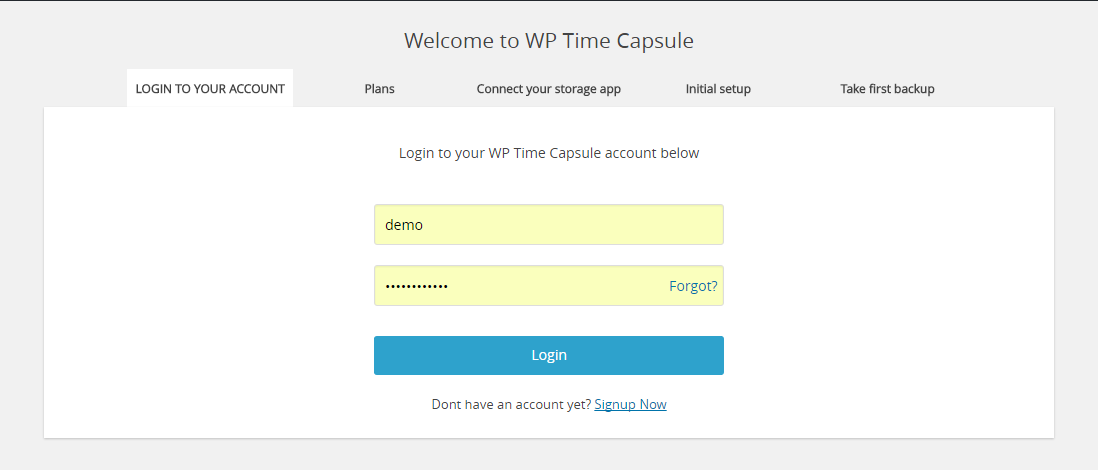
Step 5: By default, Free Trial will be activated on your account. If you want to purchase a premium plan, you can log in to your WPTC dashboard here.
![](https://s3.amazonaws.com/helpscout.net/docs/assets/573082cb90336066ec9b7fde/images/5b068cb10428635ba8b2ae4d/file-6eGJey3EtC.png)
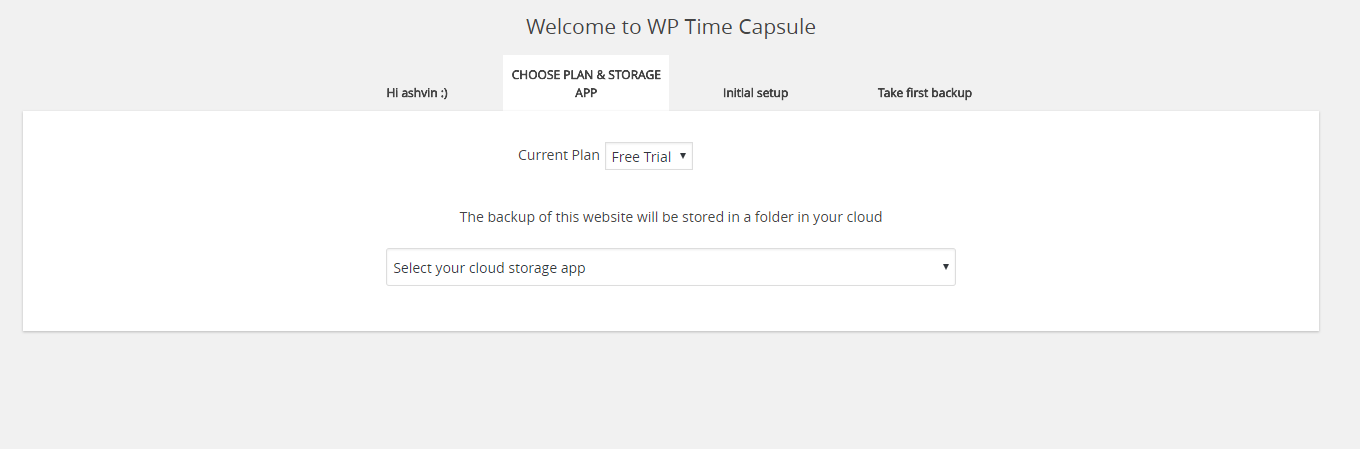
Step 6: Connect your Cloud Storage App, I'm choosing Dropbox. Click on Connect to Dropbox.
Note: Google Drive connection will also be the similar one-click process. To connect your Amazon S3 account, follow the steps here
![](https://s3.amazonaws.com/helpscout.net/docs/assets/573082cb90336066ec9b7fde/images/58e24630dd8c8e5c57310f23/file-IgT5EYHzhu.png)
![](https://s3.amazonaws.com/helpscout.net/docs/assets/573082cb90336066ec9b7fde/images/58e246fadd8c8e5c57310f26/file-i0TVPpMBQ9.png)
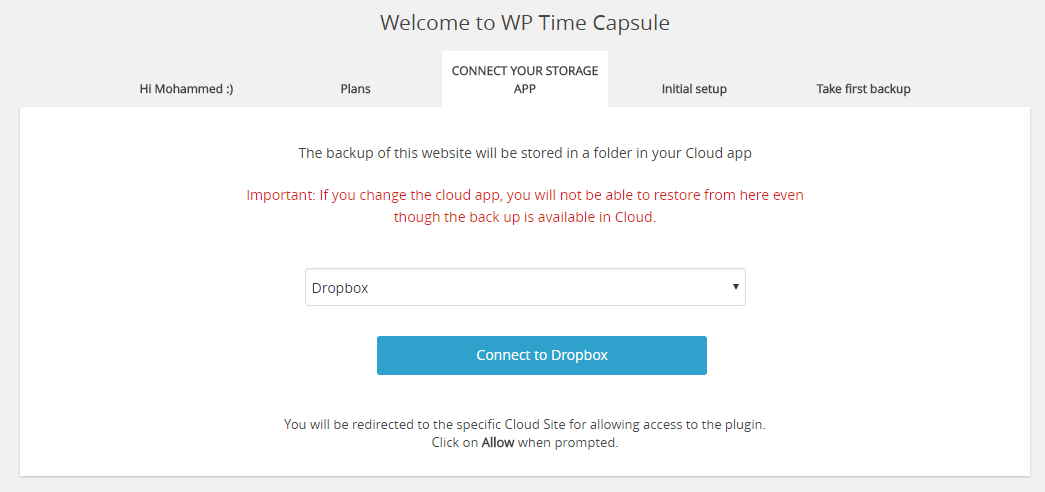
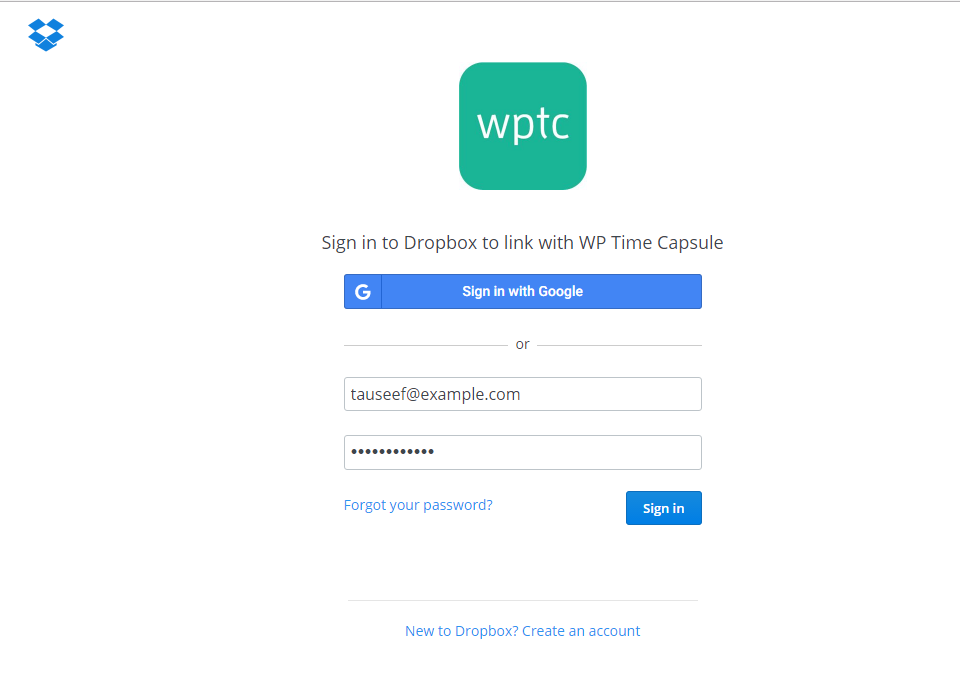
Note: If you have already signed in to Dropbox, you will be taken to Step 8 directly once you click Connect to Dropbox.
Step 8: Clicking on Sign in will take you to the next screen, click on Allow.
![](https://s3.amazonaws.com/helpscout.net/docs/assets/573082cb90336066ec9b7fde/images/58e247b8dd8c8e5c57310f33/file-OFa3Idudih.png)
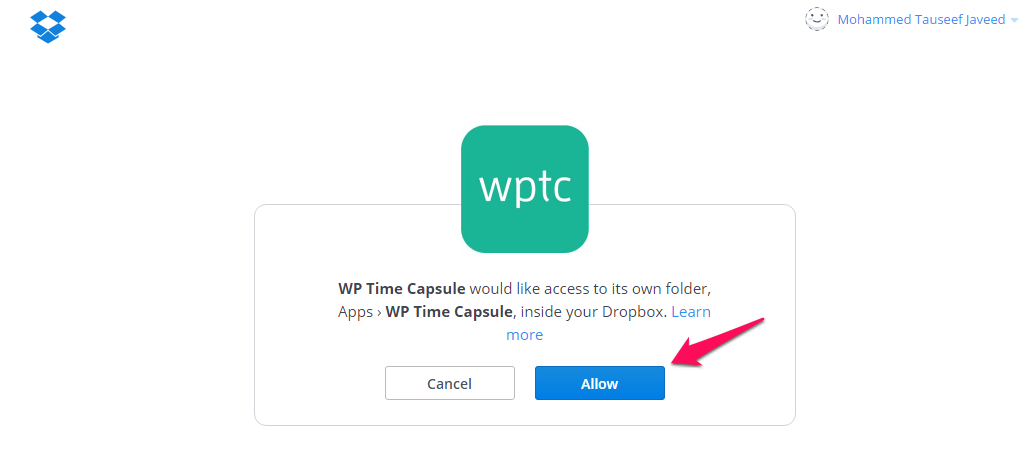
Step 9: Clicking on the Allow button will redirect you to the Initial Setup page where you could choose a backup time and backup type. You can also choose the files to be Included/Excluded in the backup.
Click here to see how to Include / Exclude files from your backups.
![](https://s3.amazonaws.com/helpscout.net/docs/assets/573082cb90336066ec9b7fde/images/58e2484e2c7d3a52b42f24b0/file-9uwHQVK7ta.png)
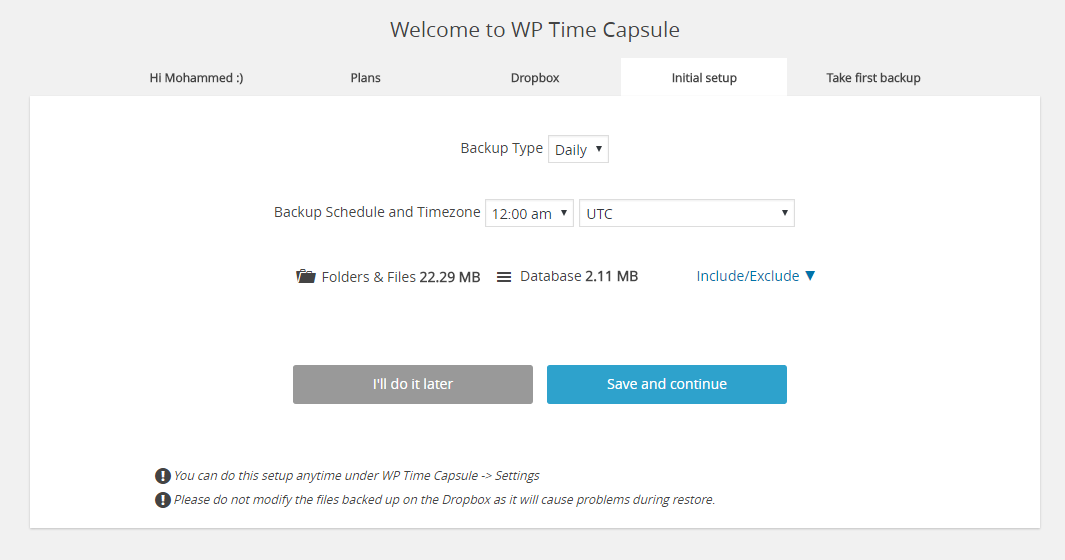
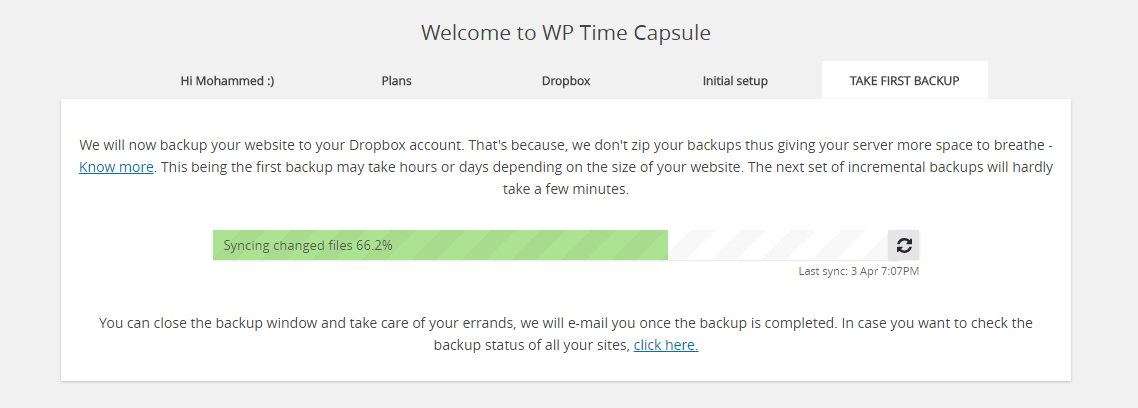
Step 10: Make the desired changes and click on Save and continue. This will take you to the final screen where the first backup will be initiated.
![](https://s3.amazonaws.com/helpscout.net/docs/assets/573082cb90336066ec9b7fde/images/58e25018dd8c8e5c57310f8e/file-nExAW9iAzl.png)